People usually expect curtains to hang just above the tops of windows. But did you know you can hang curtains from the ceiling? So to speak. If you have a higher ceiling, or even if you just want to add a little interest or height to your space, consider hanging curtains from the ceiling; or, more specifically, hang curtains high enough that you give off the illusion of hanging curtains from the ceiling.
Curtain rods are essential for hanging curtains in your home. While you can hire a pro to help you hang curtain rods in your master bedroom, dining room, home office, or any other space, it’s a simple job you can tackle on your own.
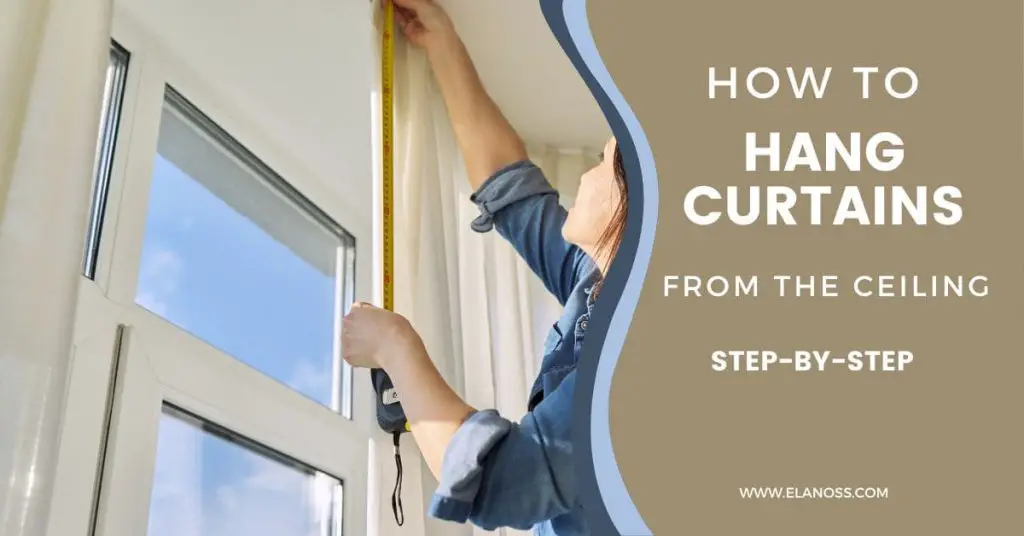
Hanging curtains can help you define the style of a room, as well as offer privacy. Here are some tips for doing it right.
In today’s article we are going to be demonstrating one way that you can hang your curtain rods now, we know that there are a ton of blogs and articles that will tell you how or how not to install your curtain rods if you take that information that You have read or may read and couple it with this demonstration article you will be well equipped to install your current rods by yourself.
Without further ado let’s jump in!
What you’ll need before hanging curtains from the ceiling?
Before installing your curtains from diy blinds just so you know you’ll need around 20 To 30 minutes for this installation if you have large curtains over three meters we recommend having a second person to help you.
You need to make sure that your window floor and hands are all very clean then scan the QR code on your product box this will take you to the diy curtains website
Tools you need:
- Step ladder
- A metal tape measure
- A cordless drill with a Phillips head and Three mil drill bit
- Pencil
- Potentially a stud finder (optional)
- Your ceiling track package
- Screws
- Brackets
- Curtain rod
- Anchors or ceiling hooks
Few things you need to work out before drilling into any surface:
Before drilling into any surface there are a few things you need to work out if you’re drilling into the wood you should be fine to start but if you’re drilling into plaster you have two options/
The first option: involves using a stud finder to locate where the wall studs or ceiling battens are
Your second option is: to use ram set 10 mil hollow wall anchors as these will help secure your curtain brackets to the plaster you can also fix them into concrete stone brick or tile as long as you use a masonry drill with the appropriate plugs Anchors and screws.
Once you’re 100 clear about what you need to do please continue…
How To Hang Curtains from the Ceiling (ceiling track): Step-by-Step
Step 1: Layout the Track -(Don’t Connect Yet)
Layout the track on the floor so that you can determine if you need to make any cuts to shorten the tracks.
1. Simply lay the track and track supports out without connecting them together.
At this stage, you are just making sure your layout is ok and that you know where you are going to anchor the ceiling supports.
Step 2: Spacing the supports
You should have enough track supports to support the track approximately every 5-6′. Space them so that they anchor into a solid structure.
You can often space out the supports farther than 5′ but if the track looks like its bending then bring them closer together.
Step 3: Cut The Track (If Needed)
Now laying on your floor you should have track in your desired layout. At this point, you may or may not want to cut the track down to shorten it.
If you do, just trim any edges off of the track to get your desired layout. You can use a hand saw or if lots of cuts are needed a Sawzall with a metal cutting blade is ideal.
If you are cutting your track make sure there are no burrs from the cut. These will bind the rollers and make it hard to move your curtain. If you have burrs simply file them down.
Step 4: Splicing multiple tracks together
1. Remove the 2 hex nuts on each Ceiling Support/Splice Connector and put the Support Plate aside.
TIP: Turn all the pieces upside down for easy assembly.
2. Butt the two Straight Tracks pieces together and place them into the Connector.
3. Replace the Support Plate and firmly secure the pieces with the 2 hex nuts.
4. Repeat this process until all pieces of track are spliced together.
4. Attach an End Stop to just one open end.
The same steps should be taken if Double Track hardware is being used
Step 5: Prepare & Measuring for mounting
Note: All walls are not straight or true and all ceilings are not perpendicular to the wall(s). The following formula can not be used if there are variations in wall and ceiling alignments.
1. Using chalk lines, lay out your design on the ceiling. If the plan has a straight track that is perpendicular to a wall.
2. Use a laser line or chalk line, to make a straight line on the ceiling for the path of the curtain track.
3. – Now from one of the sides drill and anchor your first ceiling splice track support on the center of your chalk line/laser line. This will be your starting point.
Note: Not all ceilings are level. A slightly unlevel ceiling should not be an issue but if it is very unlevel then you may need to put some shims under the track supports to help level it out.
Step 6: Mounting base hardware
1. At each point where a Track Connector should be placed, position the hardware so the track cradle aligns with the chalk line and is centered on that line. Mark each mounting hole.
2. Remove the Connector and drill each mounting hole.
Important: Make sure that all mounting connectors will be attached to firm support material. Next, remove the Support Plate from the hardware then reposition the Connector over the drilled holes.
3. Finally, attach the hardware and firmly secure it with mounting screws.
If a 90° Curved Connector is a part of your design, you will need to mark and drill the mounting holes before the final assembly is fabricated.
4. Center the 90° Curved Connector on the perpendicular chalk lines and mark the mounting holes. Remove the piece and drill the holes.
Note: The hardware can also be welded to steel beams, trusses, and plates. Spot weld each piece and check your layout before final welding.
Step 7: Mounting the assembly
Note: The installer will need an assistant to mount the assembled hardware.
1. Place the Track Assembly into each Track Connector.
2. Replace the Support Plate and secure it with the hex nuts.
3. Continue this process until the entire assembly is attached to the ceiling.
Step 8: Inserting rollers with hooks
1. Place each roller into the open end of the track. The number of rollers must be equal to the number of grommets on the top edge of the curtain.
You will likely have some extra roller hooks that you can keep as spares.
2. Affix the second End Stop to the open end of the track.
Step 9: Hanging the curtain
1. Place each curtain grommet over a roller hook and the mounting is complete.
Your curtain(s) has been pre-measured and should be approximately 1” off the floor. The dull side with the logo is in front and should face the outside.
Note: If you have a curtain taller than 15′ have a friend help you hold the curtain during this process.
Never let the curtain hang from a single hook or it could pop out the grommet from the weight. Congratulations! Your Curtain Is Ready to Use!
How To Hang curtain rods from the Ceiling?
Step 1: Measure your ceiling
1. Start by measuring from the ceiling to the bottom of where you want your curtain to hang
This measurement will help you determine the best Hardware in curtain panels for your space
Step 2: Mark your ceiling
1. using a pencil mark the ceiling where you plan to install the curtain rod brackets or ceiling hooks
2. Allow ample space between the rod and the wall for installation
Step 3: Bracket and hook installations
1. Using the bracket as a template, place it in the desired location. Mark holes.
2. Drill 3/16″ holes on pencil marks and insert anchors until they are flush with the ceiling.
3. Remove the hook from the bracket by loosening the set screw and then screwing the bracket to the ceiling.
4. Attach the hook to the bracket. Attached bracket
5. Install the other bracket in the same way as steps 1-4. Typically, the brackets should be the same distance from the nearest parallel wall
6. Adjust the bracket length by loosening the set screw counter-clockwise and moving the hanger hook inward or outward and then tightening it in a clockwise motion.
7. Adjust the other bracket to the same length as 1st and hand-tighten the screw.
Step 4: Place the curtain
1. Place the curtain onto the hanging rod (Curtain not shown). Place one end of the hanging rod into one bracket.
2. Place the hanging rod onto the other hanging bracket.
3. Tighten set screws on each bracket to secure the rod
How To Hang Curtain Rod Pole from the Ceiling?
Step 1: Using the bracket as a template, place it in the desired location. Mark holes.
Step 2: Drill the 0,5 cm holes on pencil marks and insert anchors until they are flush with the wall.
Step 3: Remove the hook from the bracket by loosening the set screw and then screwing the bracket to the wall.
Step 4: Attach the hook to the bracket.
Step 5: Install the other end bracket in the same way as steps 1-4. Using a level can ensure straightness.
Step 6: Adjust bracket length by turning the set screw counter-clockwise. Move the hook in or out. Hand-Tighten set screw. Loosen hook set screw.
Step 7: Adjust the other bracket(s) to the same length as the first bracket and hand-tighten the screw.
Step 8: Remove the End Cap by turning it counterclockwise. Place the curtain onto the rod. Replace the End Cap by screwing the threaded end into the hole in a clockwise motion until seated.
Step 9: Place the rod into the brackets.
Step 10: Hand-Tighten the two hook set screws on each bracket to secure the rod.
Frequently Asked Questions:
Where do you hang curtains on 10 Foot ceiling?
Instead of from the ceiling you do it from the wall, perhaps 2″ or so above the window border. Some people put a flat pine board above the window and attach the pole mounts to it. Otherwise, you have to get the special screws/toggle bolts/wall fastener to insert meant for a plaster or sheetrock wall.
If you are separating two halves of a room using curtains and so need to mount them on the ceiling then ceiling curtain rod holders are used.
If your curtain is not 10′ long then you need to make extenders or hang the rods from the ceiling via decorative chains or similar
How far should curtains hang above the floor?
Depends on what look you what to achieve and your finished flooring.
If it’s a wooden/hard floor I say overindulge and go luxurious with plenty of fabric touching the floor is not a problem and visually looks stunning (think mini wedding trail!)
So up to 200 cm of over spill is fine here. It works especially well on a bendy track for a bay window and with several curtains (aesthetics)
If your lucky enough to have large windows? you can Multi—layer…(We start to die and go to heaven with this stuff!) Find some pretty nets (ikea does some modern ones) and add them for privacy then hang your fabric on a separate track/pole from them. Think contrast/texture/layers.
If you are wanting to be tidy go for pencil pleats and stop them dead on the window sill.
If heat loss is a worry install a thermal roller first inside the window frame then hang the curtains with blackout/thermal lining to a track (this keeps them tight to the wall) and finish the hang midway between the window bottom and the floor.
So several options there, and no right or wrong answer really, it all depends on what look you are going for and how/if you are using them to keep out cold or just for decoration/privacy.